I joined the Getty Museum in 2014 as an administrative assistant for the Decorative Arts Conservation Department. While I frequently visit museums, my background is as a vocalist in opera and jazz so I wasn’t exactly sure what I was getting into. To my delight, I found myself surrounded by well-rounded, intelligent people who know a lot about chemistry, history, analytical equipment, and, of course, art. At any given moment, someone was viewing X-rays taken of an artifact, examining paint samples under a microscope, or turning off the lights to view the fluorescence of materials under ultraviolet light. Over a year ago, I began to work for the Antiquities Conservation Department, which specializes in art from ancient Greece and Rome. Although I work with a different set of people, I fortunately find myself surrounded by similarly intriguing colleagues.
Recently, I find my interest and curiosity about art conservation has grown. Combining that interest with another to learn photography, I decided to capture moments of the conservation process—the “behind the scenes” from behind a camera. I feel like an observer, someone on the outside looking in. What better way to learn about art conservation and photography than by learning through the lens?
I was recently able to observe Ellie Ohara work with Getty conservator Erik Risser on rigging, which involves using a circular strap to assist lifting, moving, and placing an art piece. Ellie is a graduate intern who has completed her master’s degree in conservation for archaeology and museums at the University College London. She is spending a year at the J. Paul Getty Museum working on an ancient Egyptian relief.
The challenge for me was to quickly shoot their actions in a lab with lighting that is not conducive for taking action photos. I attempted to produce nicely composed and exposed photos in manual mode that reflected the energy of the process. And, while taking photos, I learned about conservation rigging.

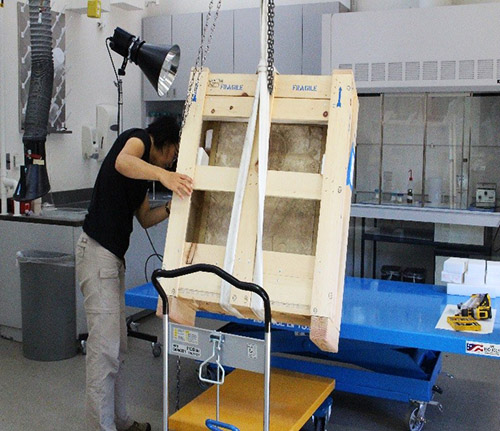
With the crate secured to the hoist using the “choke” method, Ellie begins to lay it on the work table.
Before Ellie could begin conservation (cleaning, analyzing, and restoring) of the relief (which was enclosed within a crate), she needed to secure it to a protected work space. During the process, a few challenges popped up and Ellie and Erik had to come to a consensus about the best course of action to move and place the artwork. The first challenge was how to lay the relief down horizontally and evenly above the work space. The second was how to place the relief flat on top of the work space.
There are a few basic types of rigging that can be used with a high capacity overhead hoist, which features straps to secure an object: “basket,” “choke,” and “deadlift.” Ellie and Erik decided to use the “choke” method to move the relief to the work space. Similar to a slipknot, it involves pulling one end of a loop around the crate, and then back through the loop to secure the crate to the hoist.
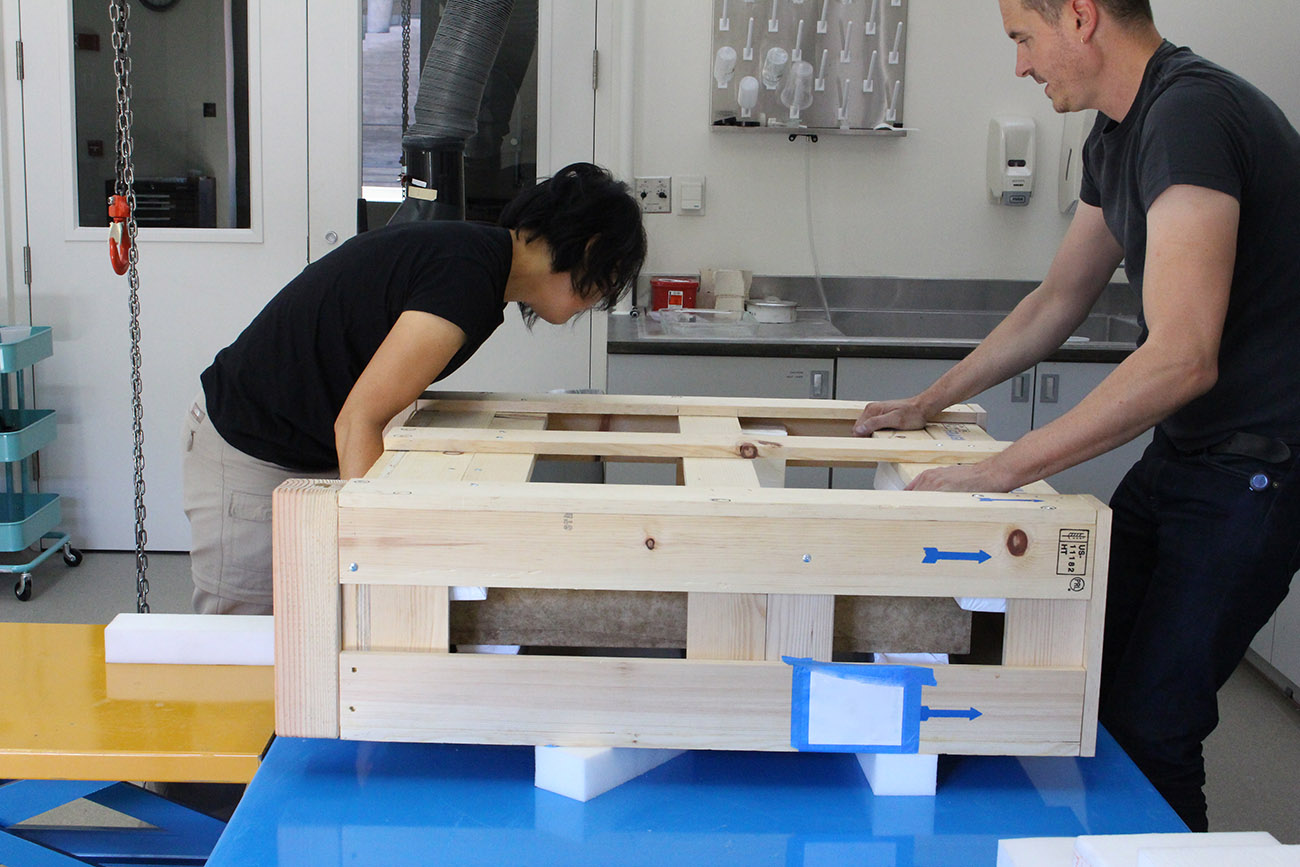
After the crate was securely placed on the work space (foam blocks were placed underneath it to ensure gentle placement), Ellie and Erik had to lift the relief from its protective crate to place it on the table for conservation.

Positioning the crate on foam blocks.

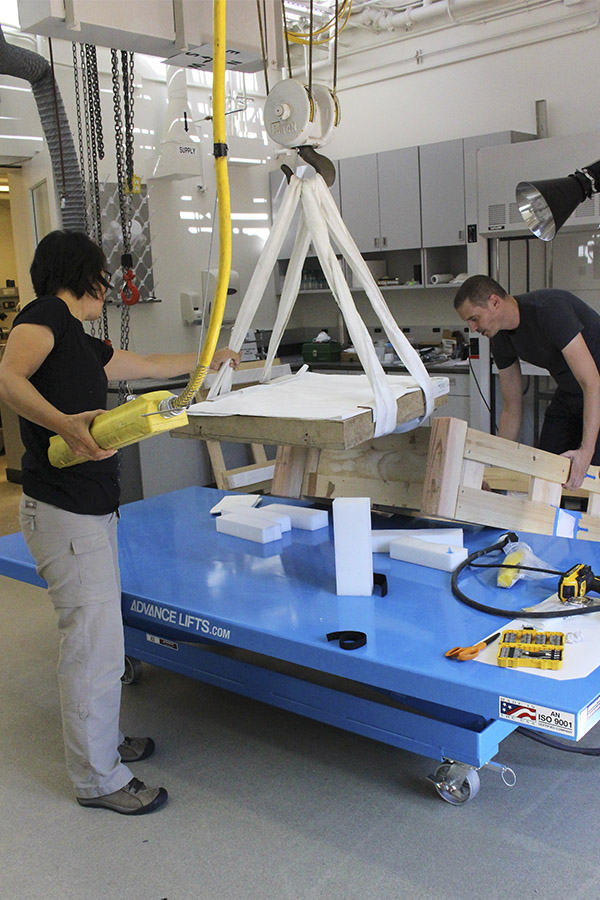
Ellie and Erik use the “basket” rigging method to lift the artwork from its crate.
For this second challenge, they used the “basket” rigging method, in which the strap is positioned to cradle the artifact being lifted. They wrapped the strap underneath the relief and brought both ends up to the hoist’s hook and then lifted the relief from the crate. The relief was placed on the table with foam blocks arranged underneath it to protect it during positioning.
Now, Ellie is ready to begin her analysis and conservation of this ancient relief and will be able to call upon her experience of rigging and moving art in the future. My next challenge will be taking fine detail photos of creative sculpture conservation, which I’ll explain in another article.

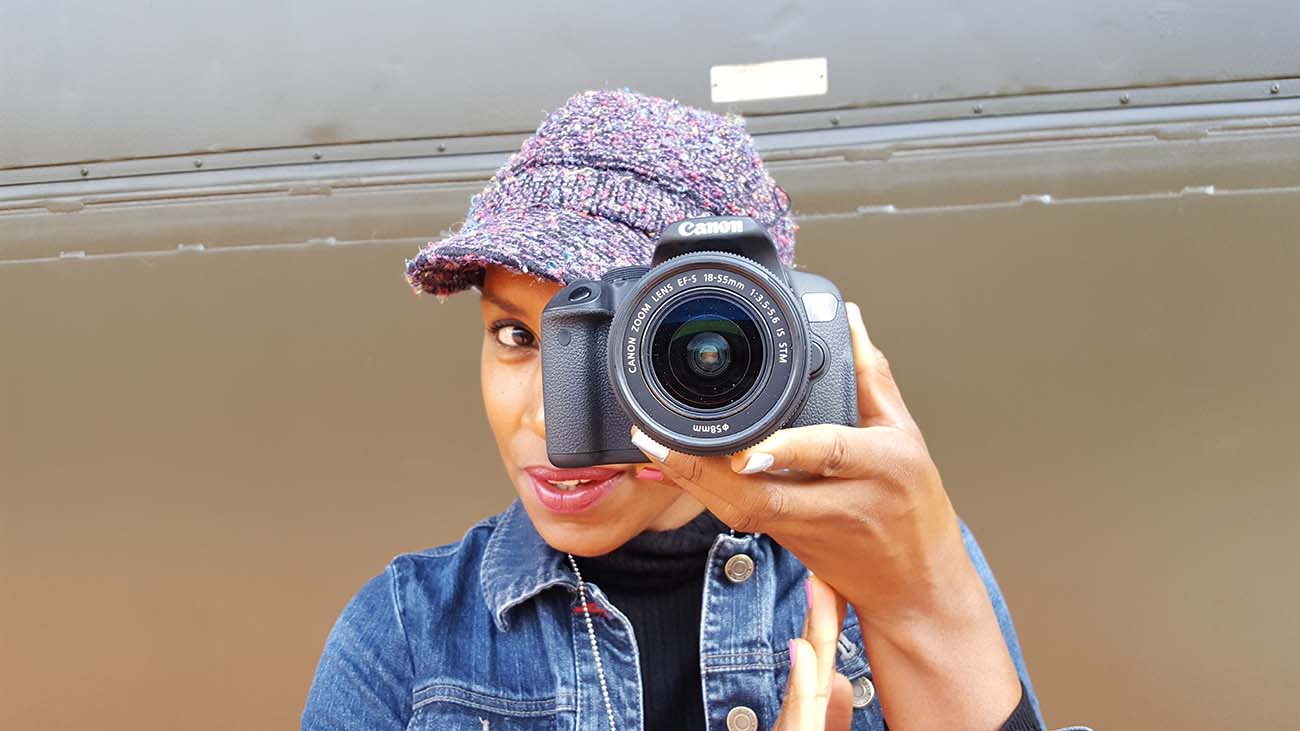
The woman behind the lens: Danielle Freeman
I would like to give my thanks to Getty photographer Rebecca Truszkowski, who is helping me understand the trifecta relationship between shutter speed, light sensor sensitivity (ISO), and the lens’s aperture.


Comments on this post are now closed.