
Since Guercino’s 17th-century masterpiece Jacob Blessing the Sons of Joseph arrived in our studio this past spring from the National Gallery of Ireland, our aim has been to gain as thorough an understanding as possible of the painting’s condition before we begin the practical conservation treatment. We do not want to encounter any surprises.
By “practical conservation treatment,” I mean the stage in a conservator’s work when we finally get to touch the artwork. This involves cleaning it. When conservators clean a painting, we’re not trying to make it look brand new. We are trying to achieve a semblance of how an artwork may have looked upon leaving an artist’s studio, while also respecting the fact that a painting ages and will never look exactly as it did when it was initially created. It’s a painstaking process that involves careful research, decisions, and practice.
In order to learn about how Jacob Blessing might have looked when it left Guercino’s studio and how it has aged, we have carried out in-depth art historical research and analyses on the painting using non-invasive methods of examination. While we knew from just looking at the surface of the painting that we faced layers of dirt and discolored varnish, we have learned that previous conservation efforts left some areas of original paint covered with non-original paint. These layers of “retouching” are concealing what we believe to be the artist’s original brushwork and should be removed.
In discussion with Yvonne Szafran, head of paintings conservation at the Getty Museum, and Simone Mancini, head of conservation at the National Gallery of Ireland, we agreed to take a slow and methodical approach to treating the painting. To clean the painting, we are aiming to remove one by one the layers concealing Guercino’s masterful technique.
These are the steps that we have taken to date.
1. Clean the back of the painting.
Our first step was to remove years of dust and grime that had become imbibed into the weave of the back of the lining canvas (a layer of canvas affixed to the painted canvas to give it more stability), as well as debris trapped underneath the wooden bars of the stretcher.
With the painting lying face down on a protected surface, I used a goose feather to dislodge old dirt and debris—long, soft, and flexible, they are perfect for this task. I then picked up the loosened dirt using various brushes and a vacuum cleaner with miniature attachments and the suction on a low setting.

Vacuuming the back of the canvas to remove excess dirt. The goose feathers, seen in the foreground, are what I used to dislodge dust and dirt on the back of the lining canvas and under the wooden stretcher bars.
2. Prepare to clean the front of the painting.
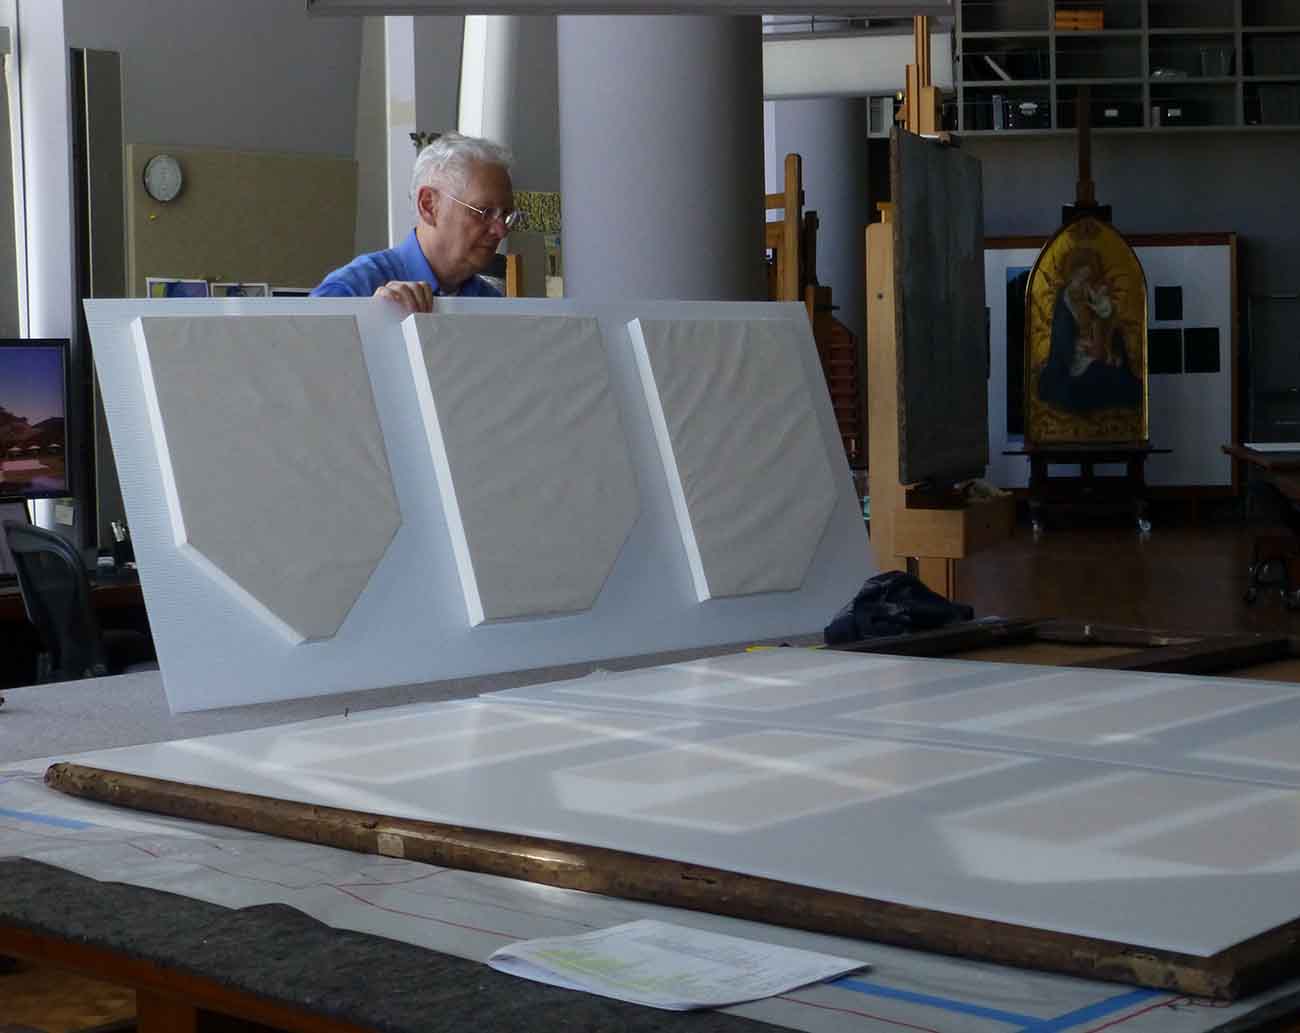
In order to clean the front of the painting we first needed to do some preparatory work. Jacob Blessing the Sons of Joseph is large—over five feet high and almost seven feet wide (170 x 211.5 cm). We knew that when we touched the surface of the painting to clean it, the canvas would gently shake or vibrate. This movement could lead to the development of cracks in the paint layers, and we wanted to avoid this as much as possible.
To reduce movement in the canvas, our frame conservator Gene Karraker and I made custom-fitted inserts to lodge between the members of the stretcher and give some stability to the canvas. The pieces were made out of a foam padding covered in Tyvek, and then attached to a polycarbonate plastic board. The edges of the plastic board were screwed into existing holes on the back of the stretcher.
Gene Karraker, frame conservator, preparing the protective inserts which will reduce movement when cleaning the painting.
3. Clean the front of the painting.
Once the painting was back up on its easel, I was ready to remove the surface dirt from the front.
I am sure many of you reading this have come across a dusty surface at some stage in your life. Imagine a surface that probably has not been cleaned in over 100 years! And imagine cleaning it with Q-tips! Using cotton wool, I made my own swabs. I then rolled damp swabs over the surface of the painting to remove the thick layers of dirt that were on top of the layers of varnish.

Dust makes a surface look matte. Where it has been removed from the painting’s surface (see the lower right corner), note how shiny (or dark, in this photo) it looks in comparison to the rest of the uncleaned painting.
Removing all the dirt from the surface gave us a clearer view of what lay ahead with regards to the removal of the varnish layers. It also gave me my first intimate experience with the painting. After months of research and technical examination, I was now, finally, up close and personal with the surface, gently rolling my swab across it, and taking note of the amazing technique of the artist and the extent of past restoration—a very special experience.

My supplies: cotton; a bamboo stick for making swabs; and used swabs.
4. Conduct solvent tests for varnish removal.
Solvent tests are conducted on numerous small areas of a painting in order to decide what solvents or solvent mixtures can be used to safely dissolve layers of aged varnish and retouchings (repaint applied by a restorer on damaged areas) without compromising in any way the original paint surface.
Choosing a solvent or solvent mixture to remove the varnish and old retouchings is incredibly challenging and highly complicated. It is not just simply a matter of chemistry—a conservator must also acknowledge and respect the artist’s aesthetic.
To respect the artist’s aesthetic, part of what a conservator weighs when deciding what solvent or solvent mixture to use to remove varnish layers, is how the varnish and the original paint has aged over time. We consider multiple concerns at once. For instance, varnish yellows over time. Paint also discolors—dark colors in particular tend to darken over time.
Being over 300 years old, we expect that the tonal balance of Jacob Blessing the Sons of Joseph has naturally shifted as a result of aging. The dark green drapery in the background, the deep blue sleeves of Joseph, as well as the shadows and the browns used in the foreground have, in all likelihood, become darker. In contrast, the light passages throughout the composition, such as the flesh tones of the figures and the white sheets, appear relatively well preserved. Understanding the complex aging of the materials used by Guercino is one of the reasons we spent months researching the artist’s oeuvre and this painting in particular.
Performing these tests on the painting, is—for me personally—one of the most nerve-wracking and exciting aspects of being a paintings conservator. I am told this state of nervy excitement is a good thing; it keeps you sharp and alert.
5. Remove old varnish layers and retouchings.

Removing the uppermost varnish layer.
Having determined what solvent mixture to use, I began to remove the uppermost layer of varnish from the painting. After dipping a handmade cotton swab into the solvent mixture, I gently rolled it over the surface to dissolve and soak up the top layer of yellowed varnish. In the video below, you can see that removing the glossy varnish leaves the surface matte.
With the top varnish layer removed, we began to get a peek at the real skill of Guercino’s technique as well as of aspects of the composition that had been hidden beneath the thick coatings of varnish. The question we now had to ask ourselves was: How far should we proceed with removing more layers of the discolored varnish and the old retouchings? Ideally, Yvonne and I wanted to discuss this with Simone in our studio, where he could see the painting in its current state. As luck would have it, he was coming to Los Angeles for the ICOM-CC (International Congress of Museums–Committee for Conservation) conference around the time we found ourselves confronted with this question.
Upon entering the studio, Simone—having not seen the painting for many months—gasped with delight. He was surprised by how much more of the composition was visible after just removing the surface dirt and the uppermost varnish layer. We were thrilled that we were all now in front of the painting to discuss what next steps to take.

From left: Davide Gasparatto (Getty Museum senior curator of paintings), Yvonne, Simone, and I in front of the painting and talking about how to proceed with the cleaning.
We decided to investigate the level of cleaning we wished to achieve by “opening up a window” (conservator parlance for choosing an area) in the painting to carry out a test on a larger part of the painting. We chose the lowered head of Ephraim at the far left, the youngest son who receives the unexpected blessing from his grandfather Jacob. We knew from x-raying the painting that this area had a large loss of paint that had been retouched. Testing such a damaged area would give us insight into what we would uncover throughout the painting if we removed most, but not all, of the old varnish and restorations.
Simone was the courageous one who volunteered to pick up a swab first and carefully start taking the varnish removal a step further. What he uncovered was a complex system of numerous layers of retouching sandwiched between layers of varnish.

Simone working on the painting.
Fortunately, these old, hardened retouchings–which sometimes can be difficult to treat—were easily removed. Simone also noted that the retouching was generously applied, concealing original subtle details, such as strands of Ephraim’s hair.

Details of Ephraim’s head at various stages of treatment. Left: Before treatment. Center: X-ray reveals large paint loss. Right: After cleaning.
As expected, the test area on which Simone worked did reveal the large loss—and gave us the impression that Ephraim had just had brain surgery! But, in truth, it also showed how the adjacent original paint surface looks beautiful. Simone’s work also revealed that there was still a very thin layer of old varnish, which we left in place as we did not feel it concealed any of the artist’s technique, and served as a form of patina that compliments the age of this almost 400-year-old (and counting!) painting. We got the sense that the painting gave a sigh of relief, finally allowed to breathe after being trapped under hundreds of years of dirt build-up, numerous varnish applications, and former restorations.
We immediately agreed that we were ready to take the cleaning further as there was still so much of the extraordinary original paint surface to reveal. Since Simone’s departure, Yvonne and I have had the honor of gradually unveiling Guercino’s masterpiece. It is a humbling experience working on such beauty, and one I never take for granted.

See all posts in this series »


Comments on this post are now closed.